feel Microsoft is doing a great job when it comes to the default security of their products. I’m not the only one, as Microsoft attitude towards security and user-friendliness has even earned it kudos in the keynote of the Australian Linux Conf last week for its default SecureBoot implementations on OEM hardware.
However, many people struggle with the default password requirements in Windows Server. While it’s pretty easy to change the password requirements in Server with a GUI installations, it’s not that straightforward on Server Core installations. So, here’s a detailed how-to:
- First, perform your Server Core installation and provide a complex password for the built-in Administrator account, when you’re prompted to do so after the initial installation. This password must meet the following requirements:
- Passwords cannot contain the user’s account name or parts of the user’s full name that exceed two consecutive characters.
- Passwords must be at least six characters in length.
- Passwords must contain characters from three of the following four categories:
- English uppercase characters (A through Z).
- English lowercase characters (a through z).
- Base 10 digits (0 through 9).
- Non-alphabetic characters (for example, !, $, #, %)
- Now, while logged on as this user, open a command prompt.
- Type the following command:
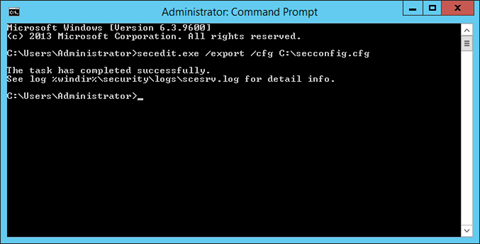
secedit.exe /export /cfg C:\secconfig.cfg
- This will dump the security configuration settings of the local computer to the file C:\secconfig.cfg.
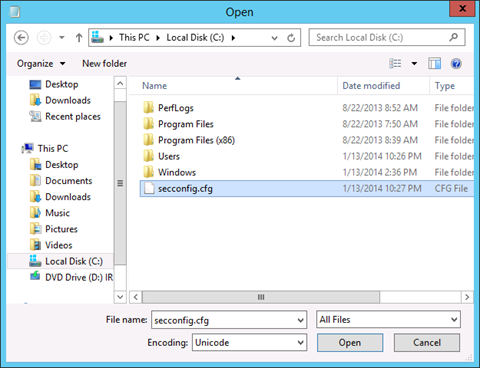
- Open Notepad by typing Notepad.exe on the command prompt. In Notepad, use the Open… command from the File menu or Ctrl+O to open C:\secconfig.cfg. In the Open window, click on This PC in the left pane and then select Local Disk (C:). In the bottom right corner change the selection criteria from Text documents (*.txt) to All Files.
Now, select secconfig.cfg, double-click it or click Open.
- In secconfig.cfg we’re going to need to change the value for PasswordComplexity from 1 to 0. Scroll down, until you get to the line that reads PasswordComplexity = 1. Change the 1 to 0. Of course, you can also use Ctrl+F to find it. When you’re really lazy (like I am), you can also deploy a straight Ctrl+H to replace PasswordComplexity = 1 to PasswordComplexity = 0.
Tip!
When you also dislike the passwords of accounts expiring, you can also configure that here. Looking to enable the guest account? Go ahead.
- When done, use the Save command from the File menu to save the new settings to the file. Next, close Notepad by either clicking on the red tab in the top right corner of the application or by pressing Alt+F4.
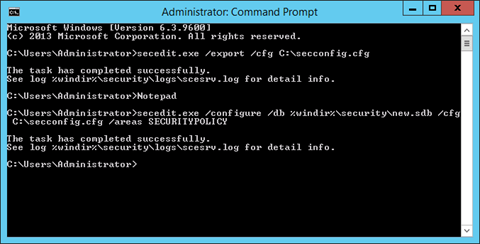
- To load the edited file as your new security configuration, use the following command:
secedit.exe /configure /db %windir%\securitynew.sdb /cfg C:\secconfig.cfg /areas SECURITYPOLICY
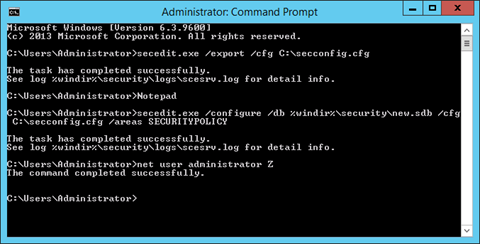
- The new Security configuration will apply to all password changes and new password. So, you can change the password for the built-in administrator to whatever you like:
net user .\administrator Z
In the example above, we’ve given the password ‘Z’ to the administrator.


